Ah imagine what life would be like having the ability to start and stop the record on your portable with a flick of a switch? No more holding the record for 832 bars waiting for your turn to question and answer! Flesh One breaks down how to install a Start/Stop switch for your Numark PT-01.
Parts needed:
SPST (Push 0n – Push off) Switch
Notes:
-any push on – push off or latching switch with a greater than ~300mA rating will work for this
-the switch listed above was used for this install
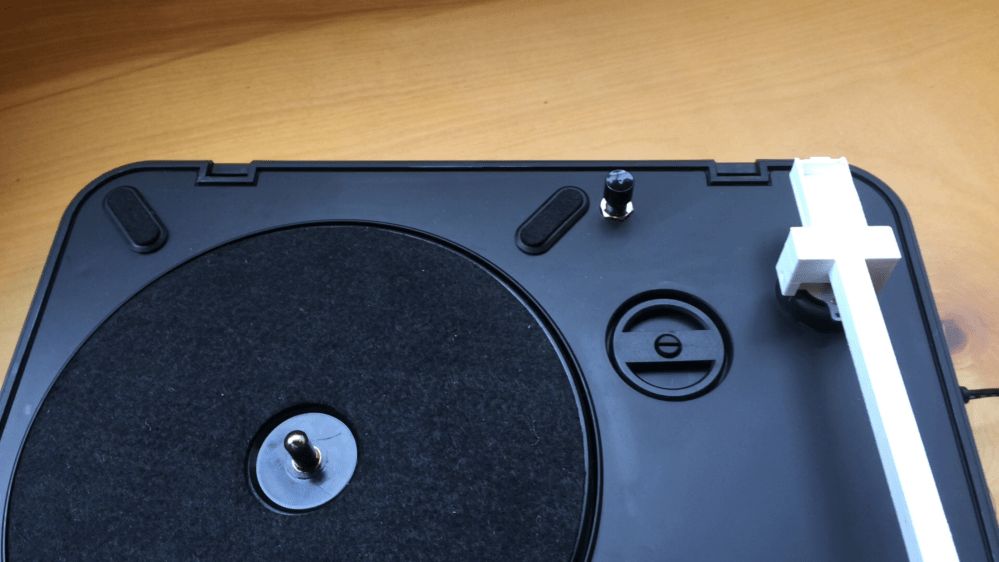
-if you remove the PT01 faceplate, this switch fits in the existing spring hole without drilling (remove the spring, which is attached internally with one screw)
Remove the Existing Switch
1. Unsolder and remove the existing start/stop switch (see pic_1_remove_switch)

Mount the New Switch
2. Mount the new switch in a preferred location (see pic_2_mounted_switch). For this guide, the switch is mounted in the existing spring hole with the faceplate removed (see faceplate removal guide for instructions on removing the faceplate).
Solder Wires
3. Solder 2 wires to the existing switch PCB (see pic_3_add_wires)
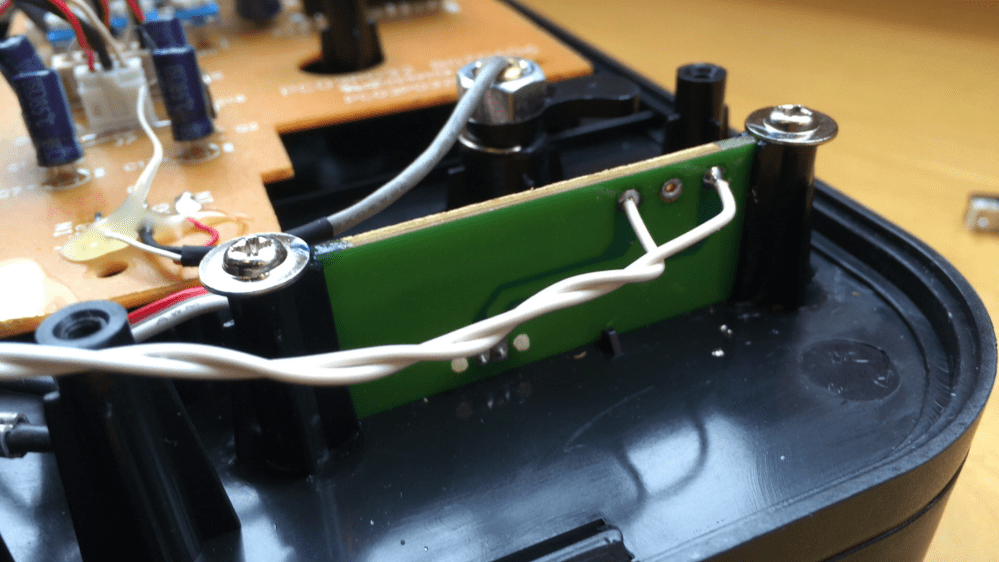
4. Solder these wires to the new switch (see pic_4_connect_switch)

Tutorial & Instructions by Flesh One
Please visit BeatShelter.com and check out Flesh One’s great products and projects!

What does that spring do?
LikeLike
The spring is a ground so the metal faceplate doesn’t shock you
LikeLike
Great instructions, I found it easier to just take the board out clip and strip the wires and connect them to the wires to the latching button or switch. I soldered them. But if you are not comfort able with solder you can get permanent push connectors. Anyone can do it.
LikeLike